If you are looking to cut some weight out of your backpacking pack, I always suggest looking at your sleep system: Tent, sleeping bag and sleeping pad. For most people you can easily shave a couple of kilograms by replacing heavier items with lighters ones. And for those that are in need of replacing their tent, the Sierra Designs Lightning 2 tent is a great option if you would like to save a little weight.

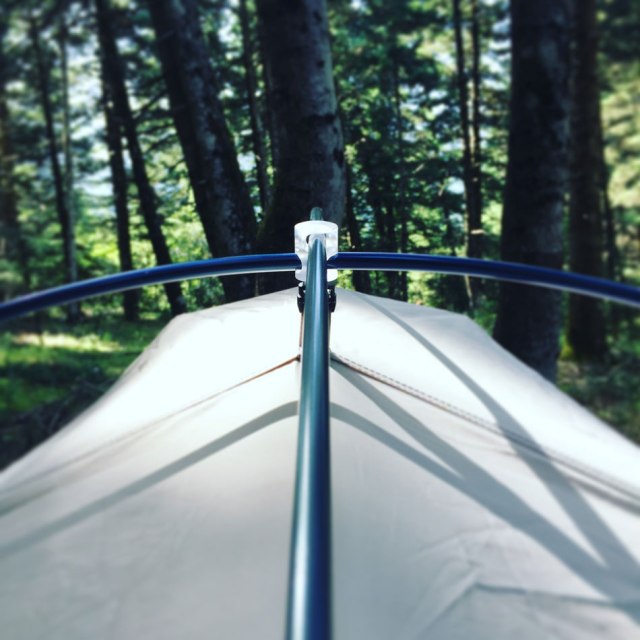
The best part of this tent is unique one-piece double/single wall construction. This enables you to set up the tent without worrying about rain getting inside before you get the fly on. Also, setting up the tent is very easy and can be accomplished by a single person in less than 5 minutes. In average it takes me about 3 minutes to set up the tent, once I have decided the exact spot that I will be pitching the tent. Pitching the tent is very easy and it uses a hub-system DAC poles and although Sierra Designs claims is a free standing tent, in order to exploit full functionality, you should use at least 6 pegs. Furthermore, the Sierra Designs Lightning 2 tent has 4 guylines and in extreme wind conditions it’s a solid construction.


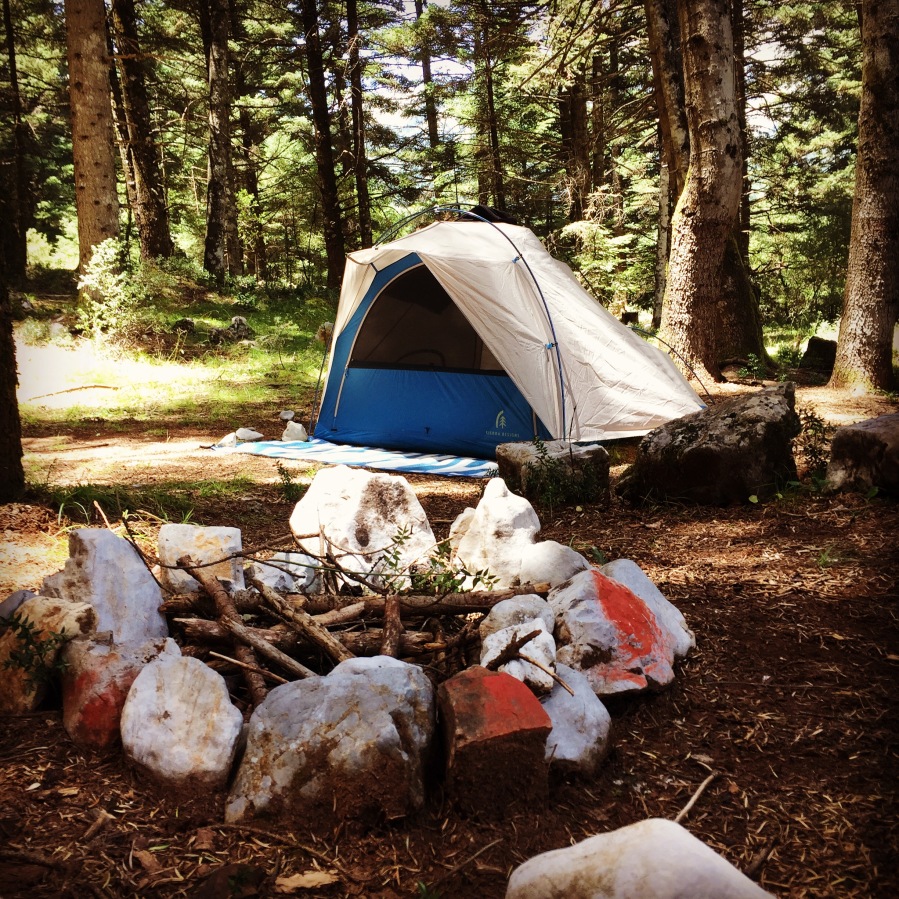
The colour combinations (blue and grey) is one of my favourite combinations (in contrary I don’t like the newer version of the green colour) and it looks stunning. Actually, in this part of the world, that is almost impossible to find Sierra Design tents, everyone is commenting the nice industrial design this tent has. The Sierra Designs Lightning 2 tent is a real 2 persons tent with plenty of space for 2 adults. In addition, in the gear closet (as Sierra Designs calls it) the backpacks and/or boots or other equipment can be placed. I have been using this tent also as a single person tent, and I have been very satisfied, especially when the weather conditions are not that good and I have to stay in the tent watching the rain to fall. To be used a single person tent is not the most light, but it certainly provides you a luxury “room” bellow the star.


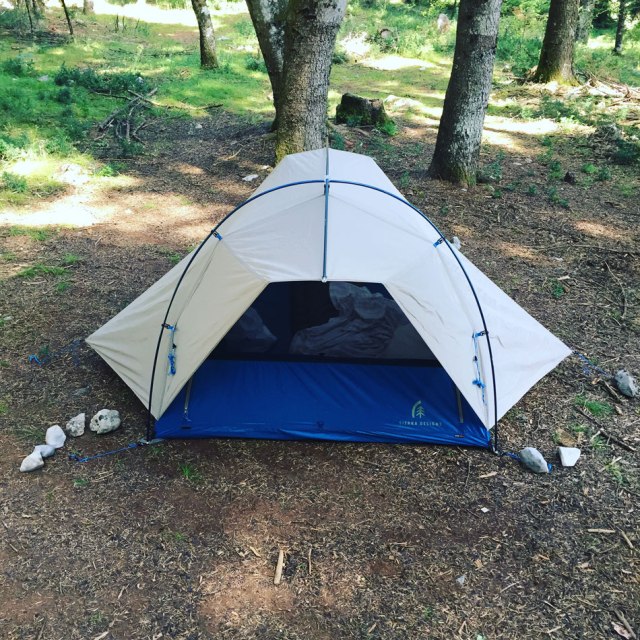
This is a fantastic tent in terms of condensation management. The hybrid design and the right usage of mesh and windows help a lot with the management of condensation. If uses as a single person, I have never seen any condensation in the interior of the tent. When used as 2 persons tent, sometimes, I have seen minor condensation on the rear part of the tent, where it’s a single wall piece. This is just a bit of condensation and that was only occasionally in very humid environments. Bellow, some photos of how the mesh design works in this hybrid design tent.


As you can see from the photo bellow, this is a very spacious two persons tent. On this photo I have been using a Klymit V static Ultralight Sleeping pad, and there is plenty of space for another sleeping pad.


Features
Capacity: 2 Person
• Minimum Weight: 3 lbs 14 oz. / 1.76 kg (real weight 2 kg)
• Freestanding – Can be pitched anywhere—no matter how impenetrable the surface
• Large Single Drop Door – Single door saves weight, but is uncommonly wide and large enough for two to sit side by side
• 15″ Integrated Awning Poles – Maximizes the door opening and drip line without the weight of a support pole
• Hybrid Double/Single Wall – Reduces weight and provides quick, dry set-up, even in the rain
• Hubbed Pole Pitch – Speedy, dry set up
• Massive Foot Vent – Creates a venting tunnel between the foot box and the drop door vent for unprecedented ventilation and superior condensation management
• Foot Hoop – Full-size foot box
• Gear Closet – Gear storage where it should be—away from the door. Whether toggled closed or left open for additional venting, gear stays dry in a rainstorm. Plus, each occupant gets zip-accessible individual gear storage

Pingback: Wild camping and Hiking in Lake Doxa – Olympus Mountaineering
Pingback: Marmot Long Hauler Duffel Bag – Review – Olympus Mountaineering
Pingback: Mount Tymfi (Pindos) Thru-Hike Part 1 – Kapesovo – Mezaria Gorge – Vikos Canyon – Mikro Papingo – Olympus Mountaineering
Pingback: Mount Tymfi (Pindos) Thru-Hike Part 3 – Dragon Lake (Drakolimni) – Olympus Mountaineering
I’m a big fan of this tent. Glad to see others putting it to use!
LikeLike
I really enjoy this tent too. I have used it on many hiking and mountaineering trips and I have been very satisfied.
I also own a Sierra Designs Flash 3 tent and I am equally very happy with it.
With the only thing I am not very glad about is with the SD brand itself, because in 2015 they tried to introduce innovative products such as the Flash, Lightning etc. but because the first year their sales were not good, they decided to move back to the traditional tents with vestibules. They might know better, but unfortunately, we, as users lost this great innovation that SD had introduced with the Flash & Lightning tents.
LikeLike
Pingback: Taygetus Mountain Autumn Ascent via Athanati Rachi – Olympus Mountaineering
Pingback: Agrafa Mountains Svoni Peak Expedition Preparation – Autumn 2017 – Olympus Mountaineering
Pingback: Hiking in South Pindos – Lakmos Mountain Pt.01 | Anthochori – Tsoukarela Peak – Verliga Alpine Lake – Olympus Mountaineering
Pingback: Hiking in South Pindos – Lakmos Mountain Pt.02 | Verliga Alpine Lake – Megas Trapos – Baros – Kallarites – Olympus Mountaineering
Pingback: Hiking on Mount Mainalo – Tzelati Peak – Olympus Mountaineering
Pingback: Hiking on Mount Mainalo – Traversing Ostrakina to Mavri Korifi (Black Peak) – Olympus Mountaineering
Pingback: Winter hike and mountaineering climb on Gardiki Peak (Arête of Chelmos/Aroania) – Olympus Mountaineering
Pingback: Mountain Leader Seminar on Mount Parnassos – Olympus Mountaineering
Pingback: Traverse of Arête of Chelmos/Aroania Mountain Pt. 01 | Lake Doxa – Karavi – Nisi – Madero – Olympus Mountaineering
Pingback: Hiking and Wild Camping on Mount Giona (Mt. Aselinon) – Olympus Mountaineering
Pingback: Hiking in Gyftokambos and Sarakatsani huts – Zagori – North Pindos – Olympus Mountaineering