One more weekend arrived, and it was time to hit the trail once again. We had plenty of options in our mind, such as Alpine Climb on Gerontovrachos (mount Parnassos), Dirfi mountain or the continuation of Dirfi, Xerovouni mountain.
Xerovouni is a limestone mountain in central Evia and is essentially a continuation of Dirfy mountain complex. Its highest peak, Portaris, is 1,453 m high.
Although Xerovouni is not a very high mountain, due to its proximity to Athens, many hikers and climbers visit it. In addition, in Xerovouni there are plenty of trad climbing routes, that during winter time most of these routes become the perfect playground for rock & ice climbing activities.
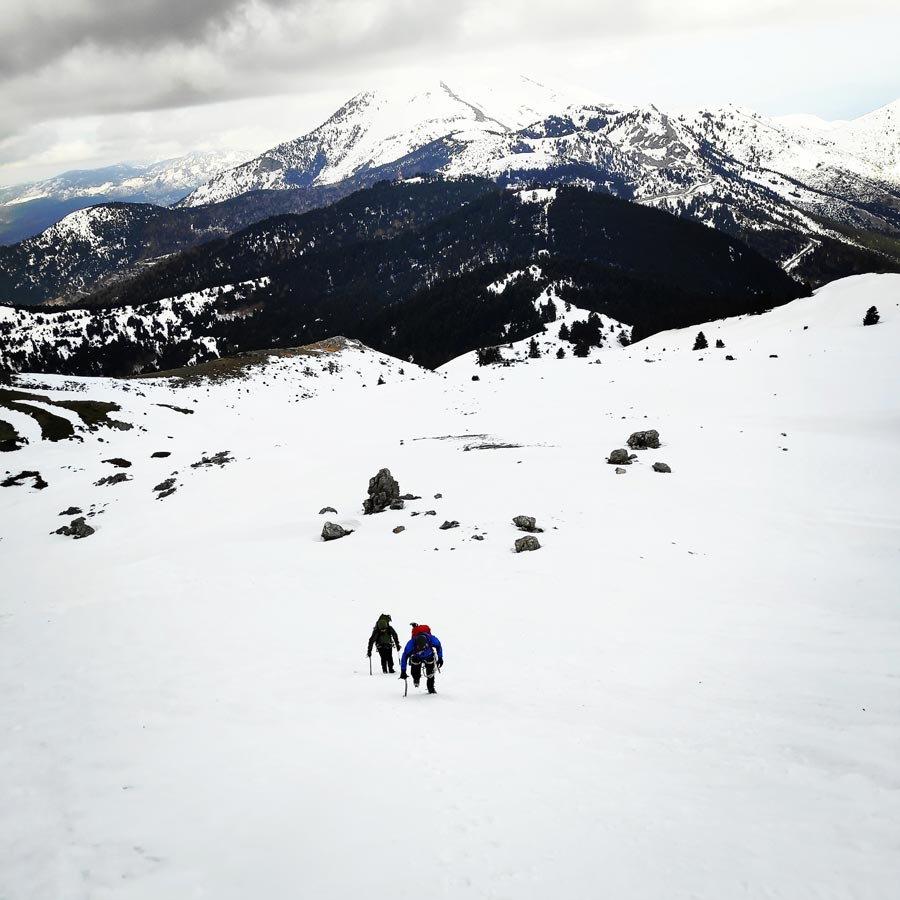
It was about 8 o’clock when we parked our car on the Dirfi-Xerovouni col and there we had the chance to meet other fellow mountaineers that came together with a mountaineering club from Athens.
Our initial plan was to visit Portaris peak 1.453 m., via Portaris’ couloir. Though due to the heavy snowfall it was almost impossible to break the trail up to the base of Portaris peak. Therefore, midway, we have re-evaluated our plan and we have decided to visit the west peak of Xerovouni which is 1.413 meters above sea level.
See previous mountaineering ascents in the area of Dirfi – Xerovouni:
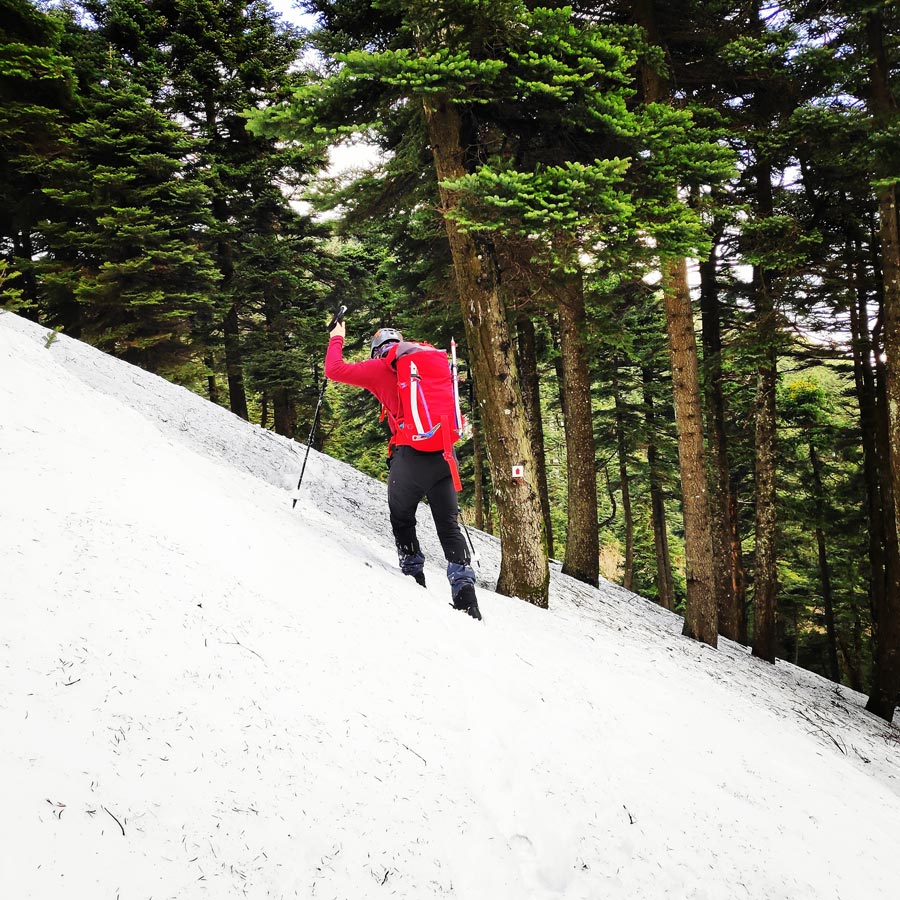
There are various options to visit this peak, but due to the fact we wanted to do something more difficult, we decided to climb to the top via the central couloir that is located in the side of the west ridge.
Support the journey — buy me a coffee
I share these articles and the climbing guidebooks because I love the outdoors, and they’ll always be free. If they’ve helped you, help me keep them coming. Click the button to support my work.

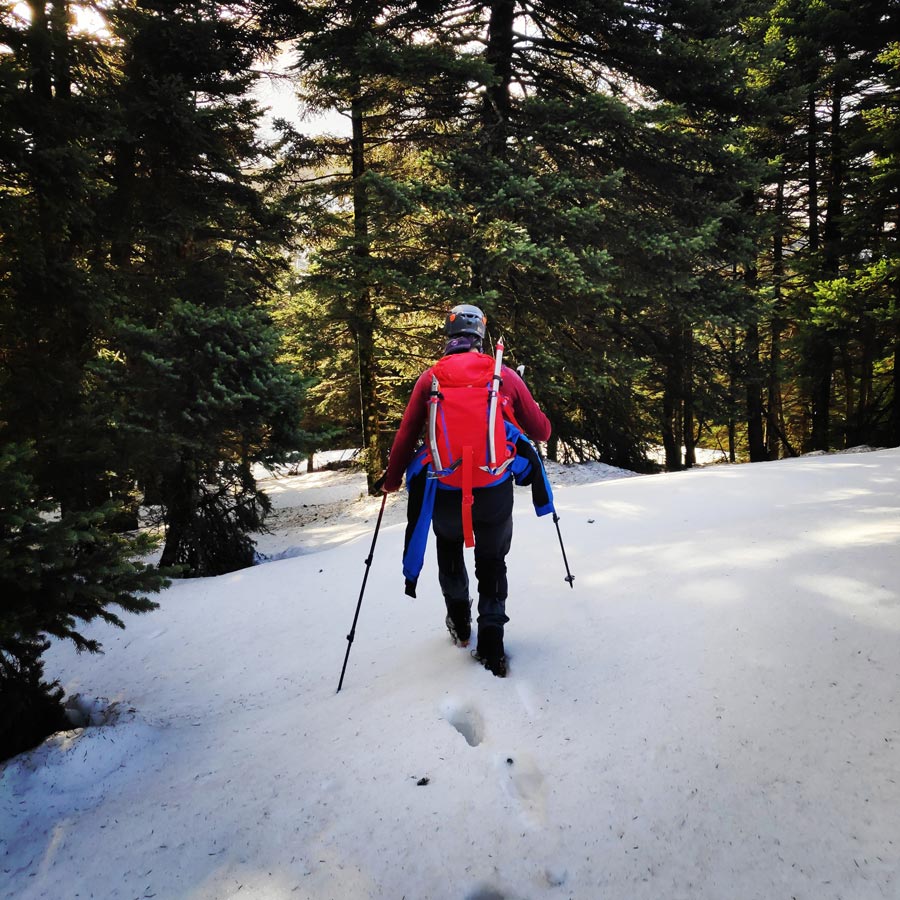
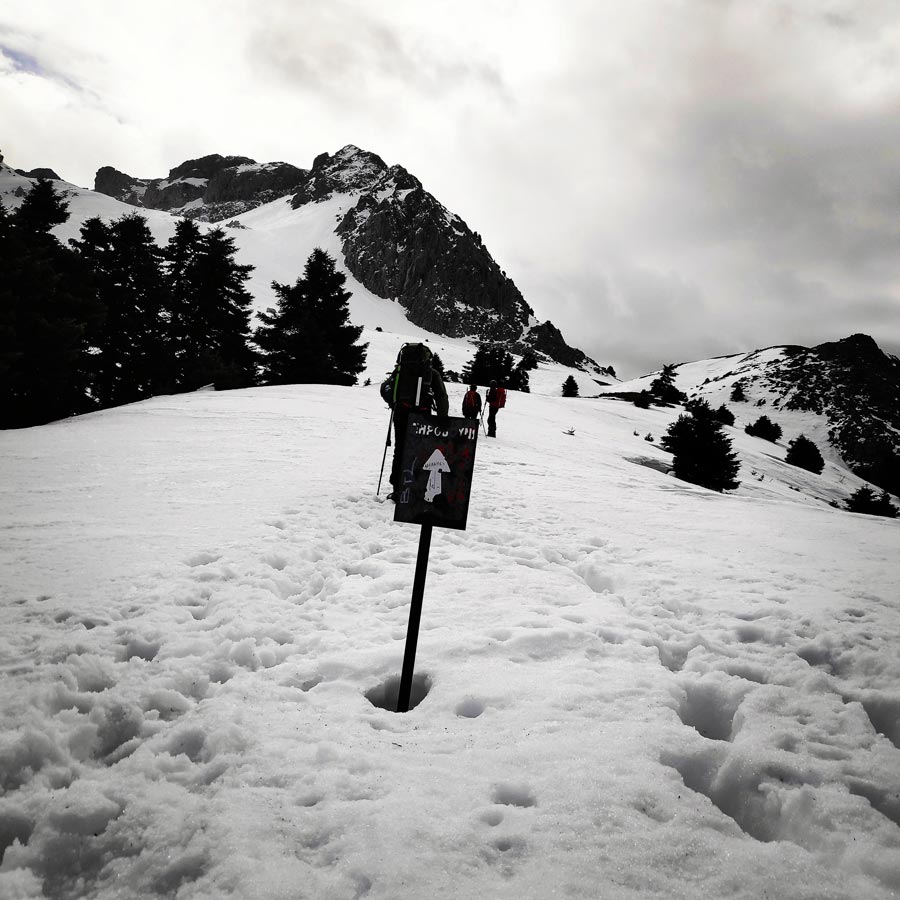
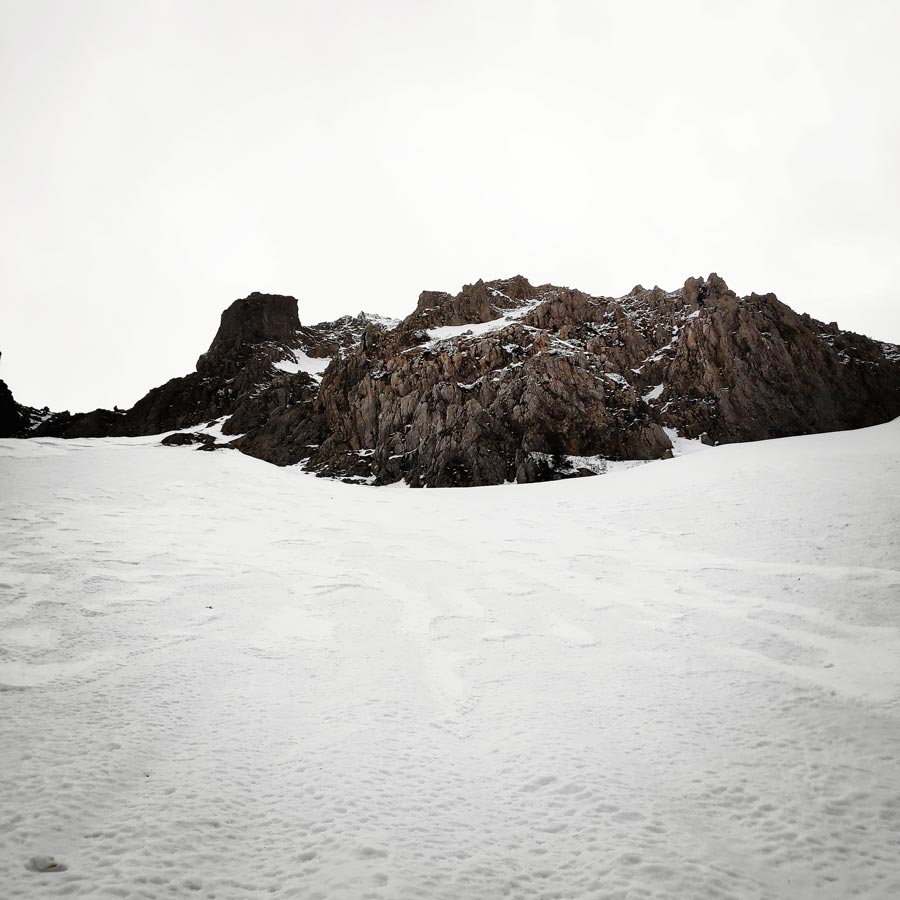
Xerovouni / Dirfi Col (Parking lot) – Base of Xerovouni Mountain
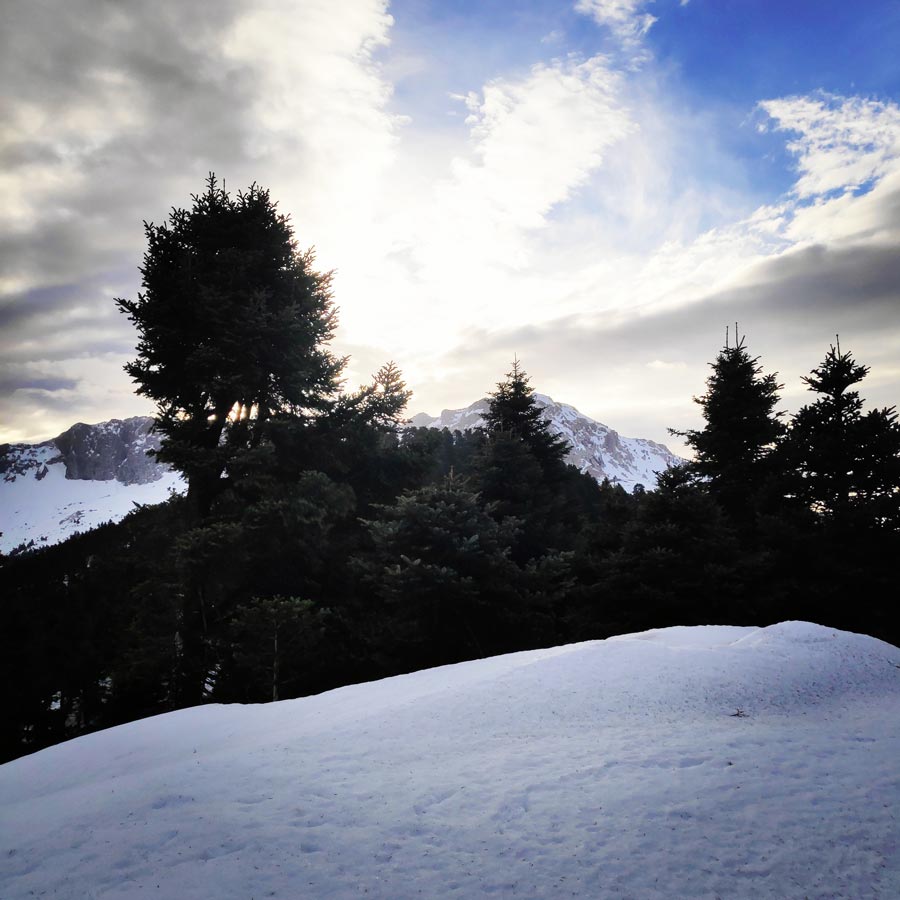
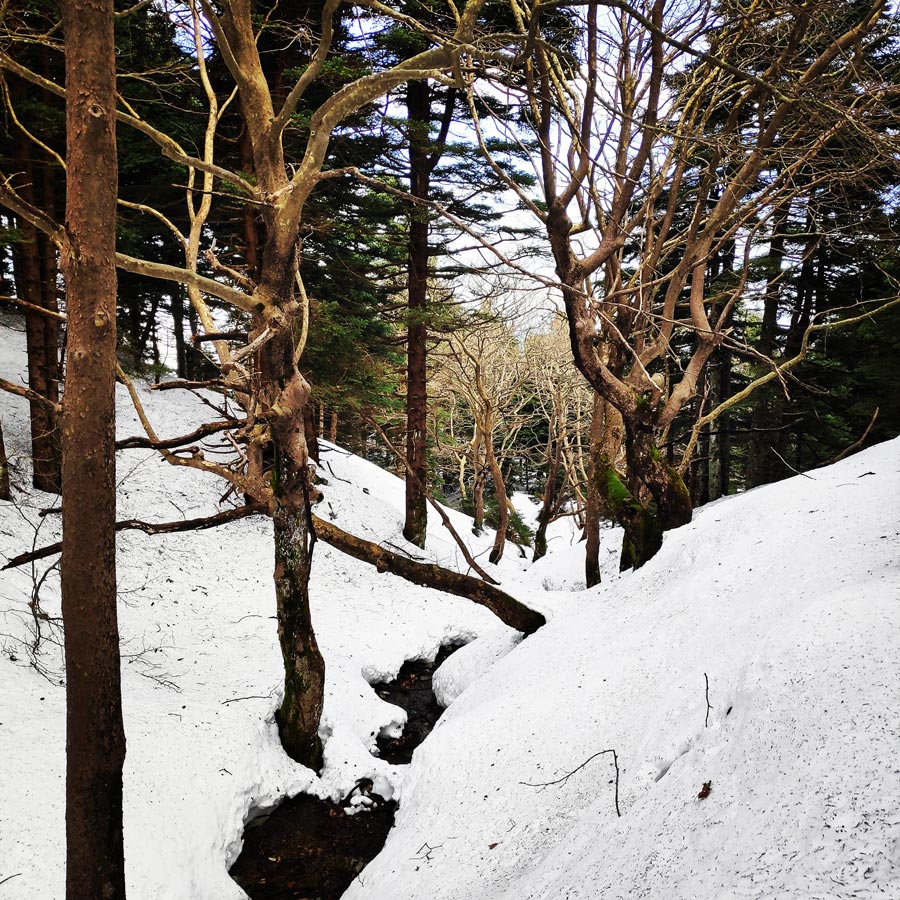
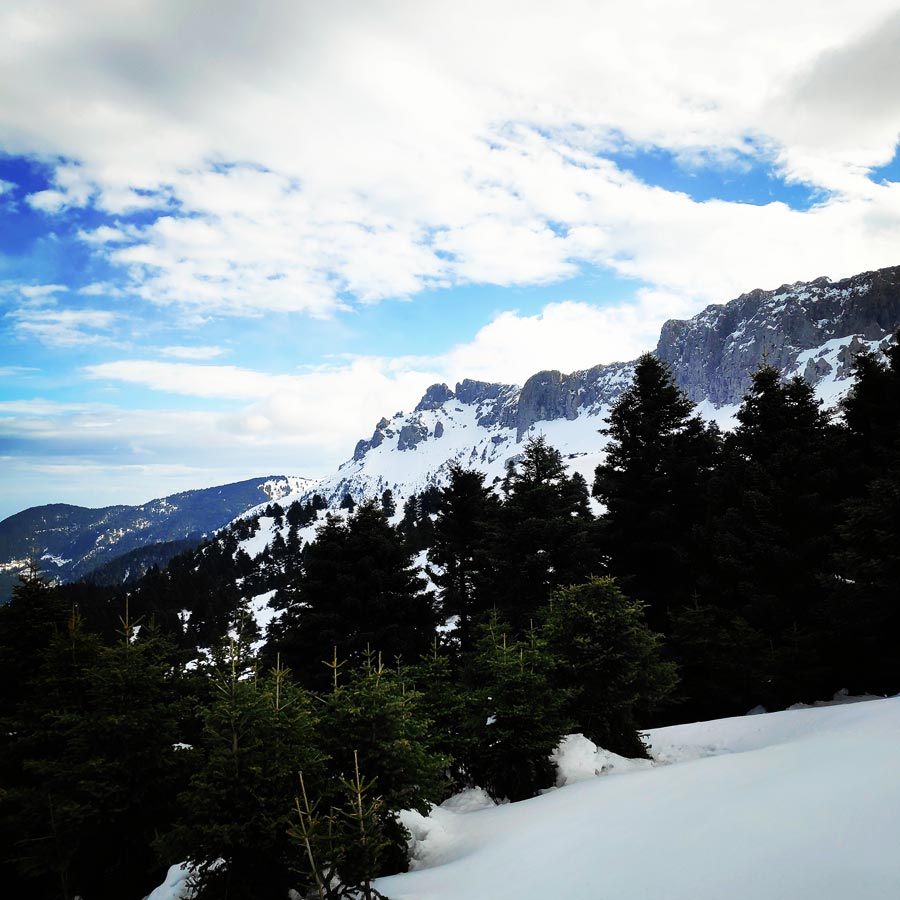
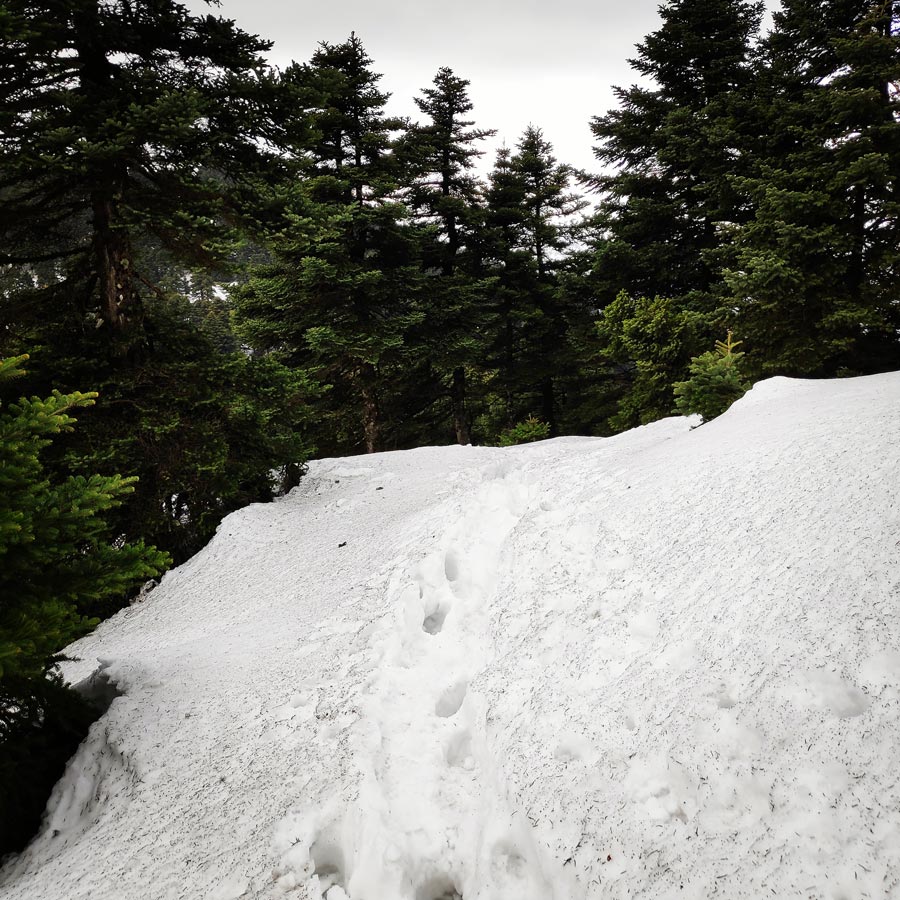
The vegetation of the mountain is consisted mainly of pine and fir trees and secondly of beech and chestnut forests.
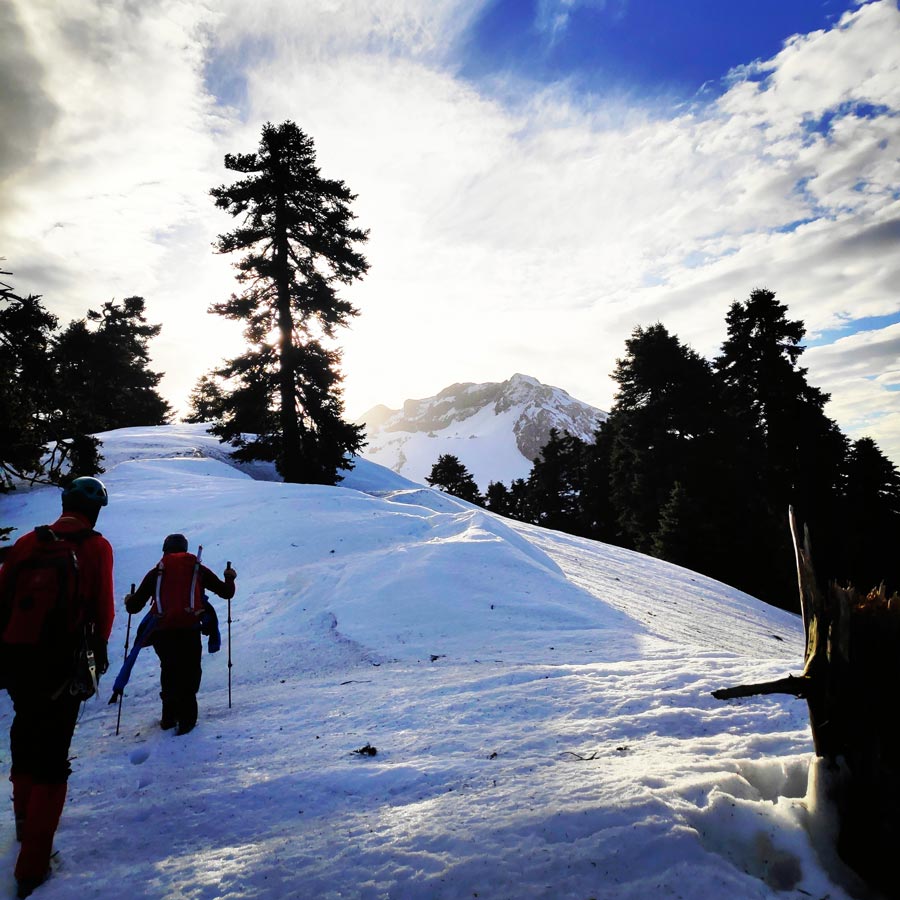
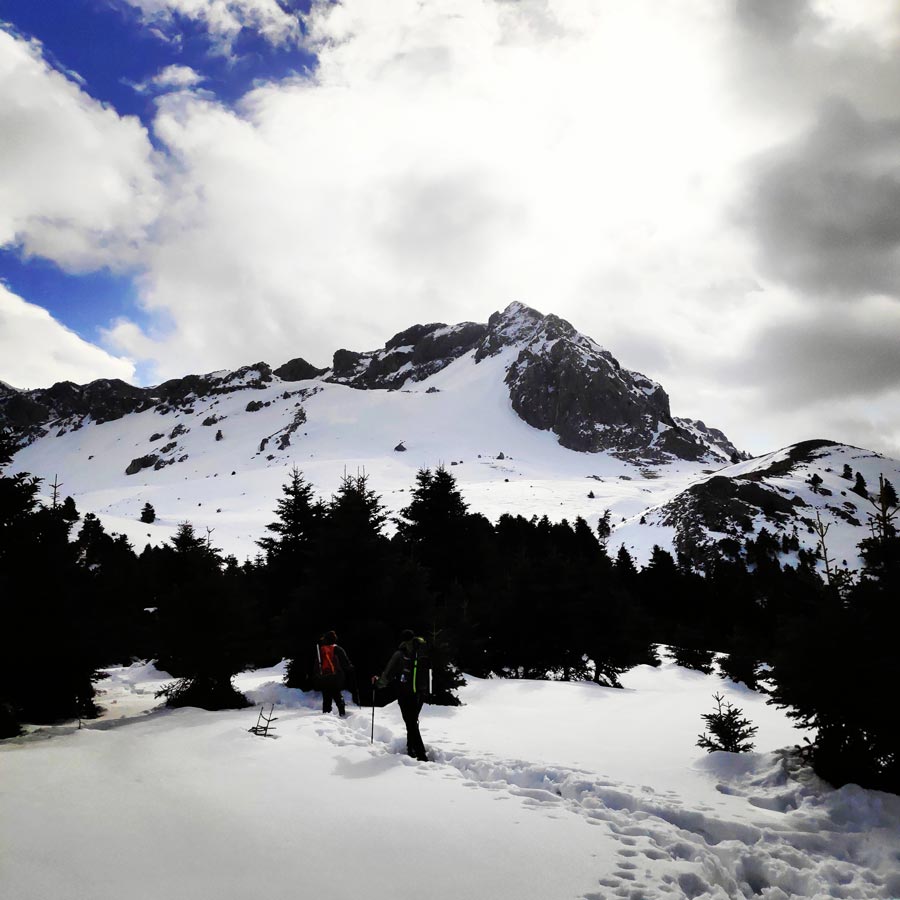
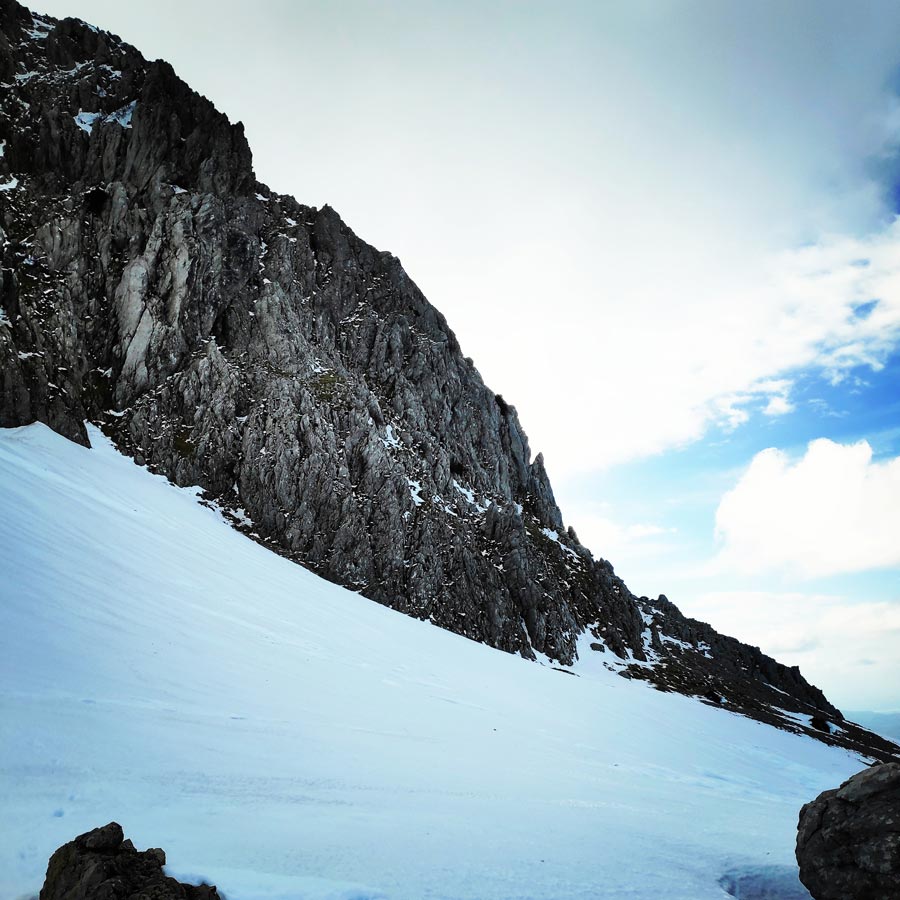
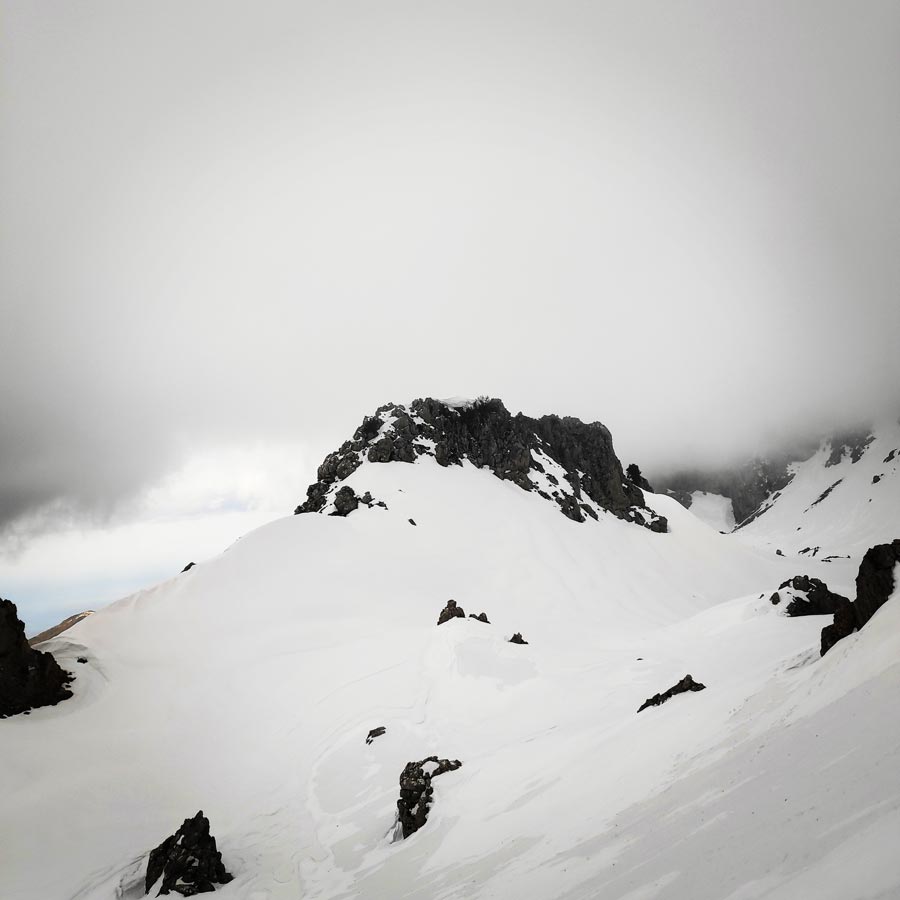
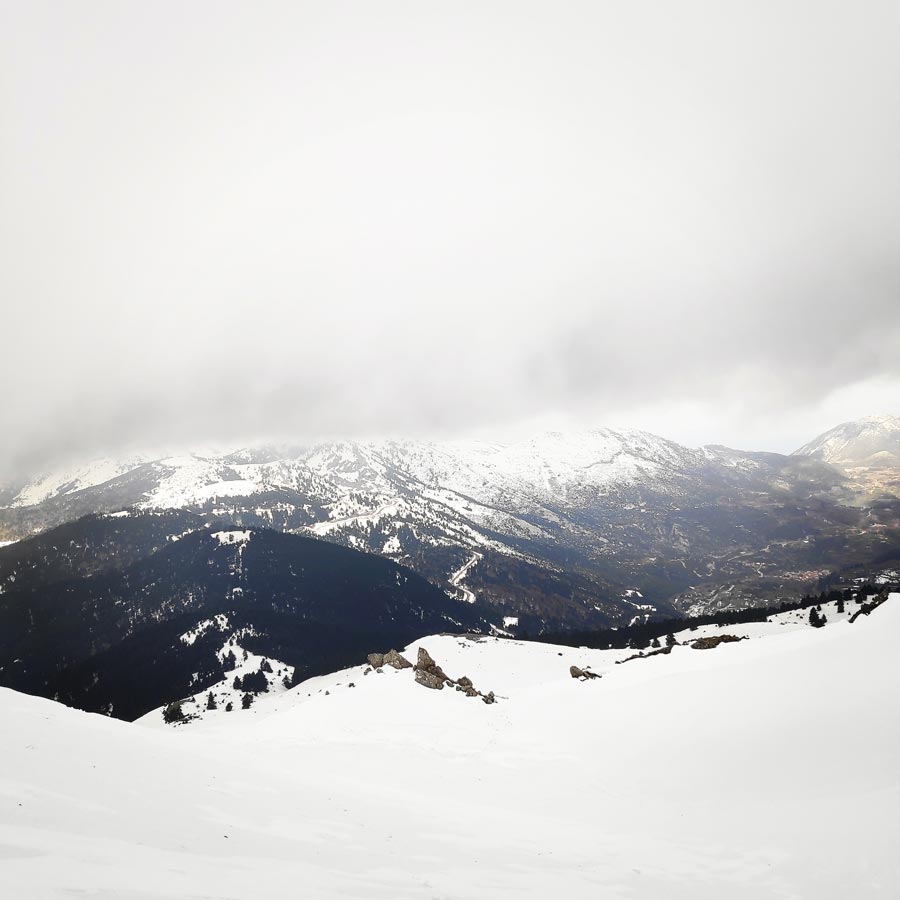
We start our approach hike, enjoying the marvelous view of the majestic Dirfy mountain on our left and Xerovouni mountain on our right, that cause awe as they are the highest part of Evia, at 1,743 m and 1,453 m respectively.
Do not get confused because of its name, since nothing but “dry” is Xerovouni (in Greek it means Dry mountain), since there are many springs and great vegetation from evergreen and deciduous trees. As we go up the landscape will become alpine with magnificent rocks embracing the peak.
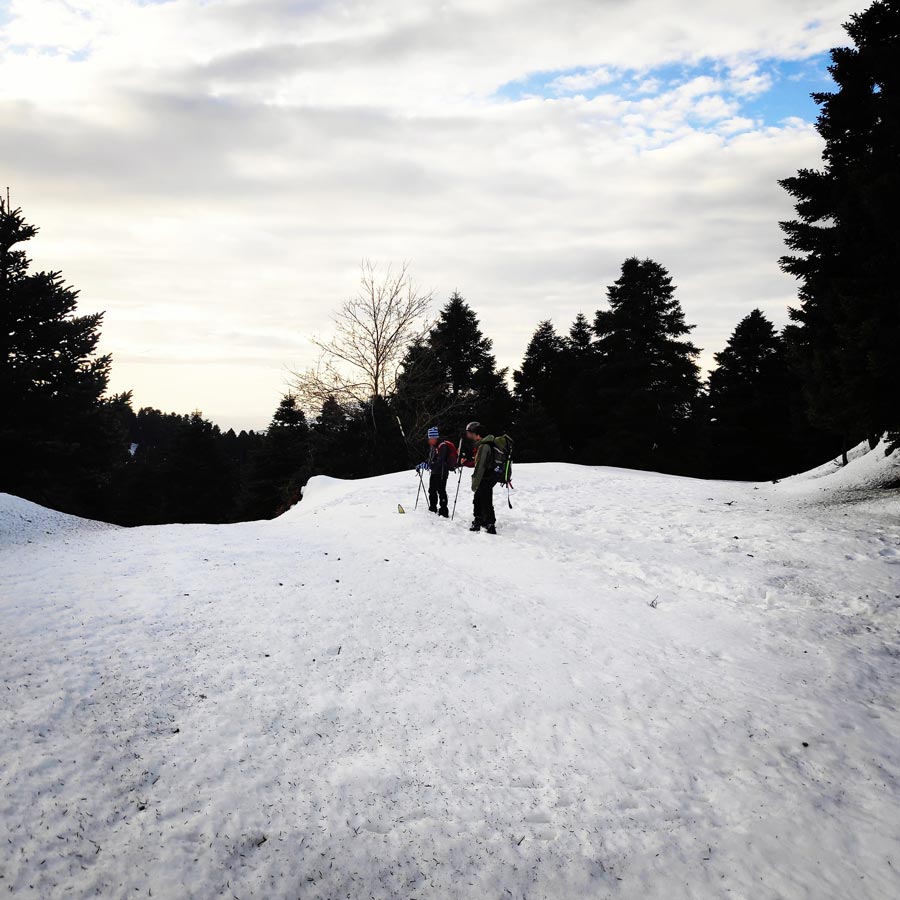
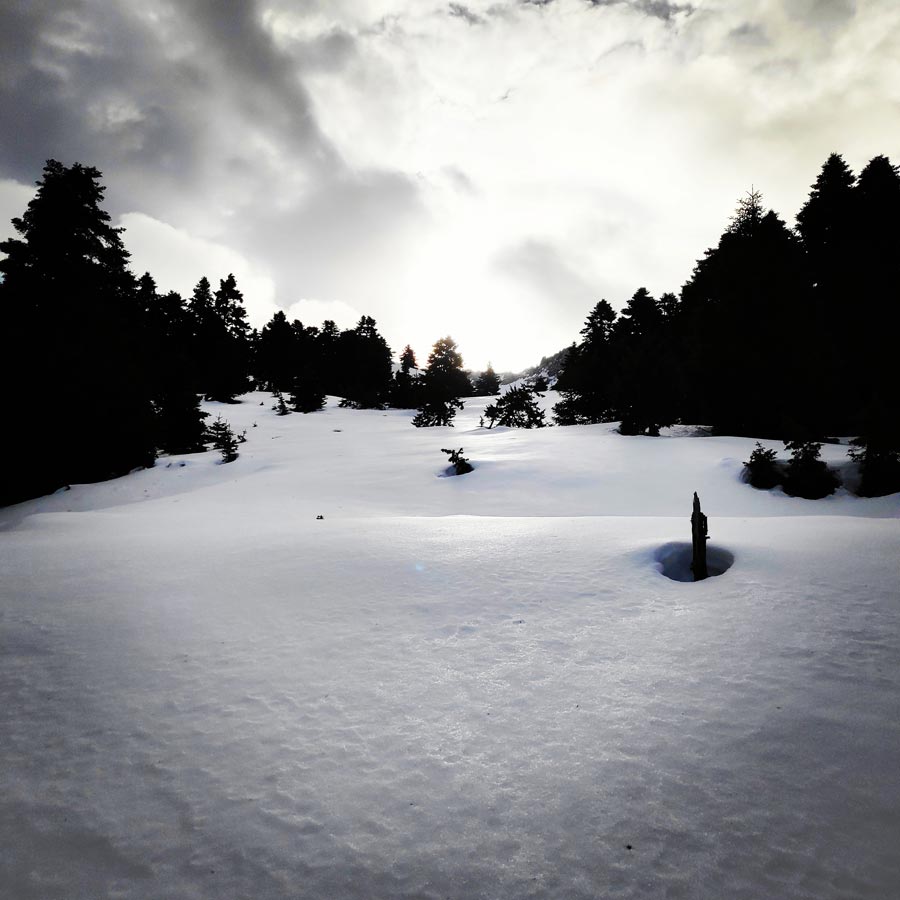
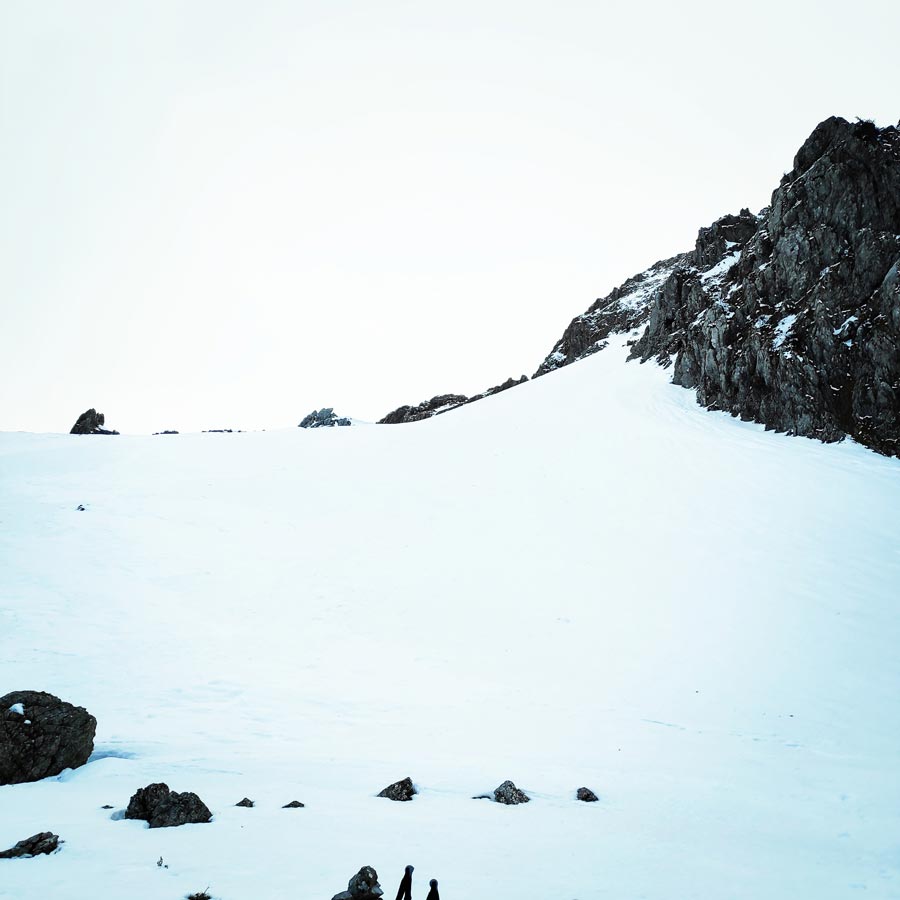
The days before we visited Xerovouni there was a heavy snowfall and therefore our approach hike was rather tiring because we had to break trail in the deep snow.

West Ridge Central Couloir – Xerovouni 1.413 Peak
As said earlier, our initial goal was to reach Portaris peak, via the Portaris couloir. Though, due to the snow conditions it was not possible to achieve such climb within a day and therefore we changed the plan.
Our new plan was to climb on the second highest peak of Xerovouni, the 1.413 peak. One can reach this peak by either climbing the west ridge, climbing the central couloir or to hike around the west ridge via the normal hiking path.
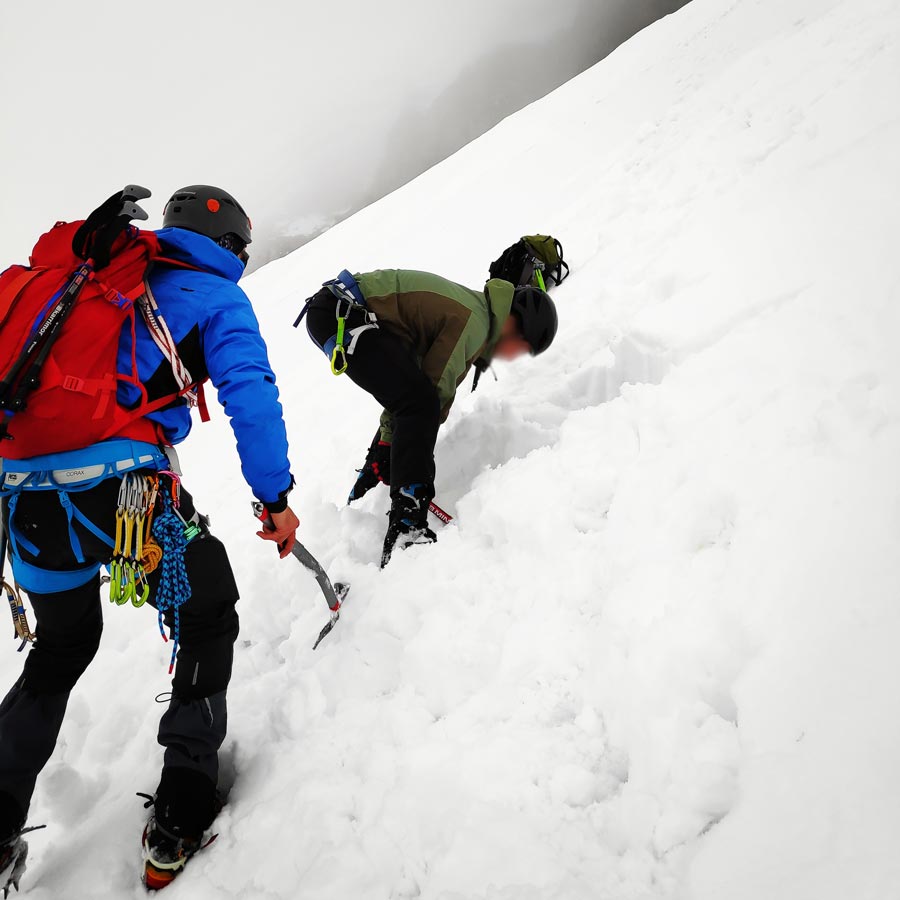
Once we reached the base of the mountain, we had a short break in order to get our gear on, such as harness, crampons, ice axes etc. Bellow, a list with some of the gear I have used for this climb:
- La Sportiva Spantik Mountaineering Boots
- Petzl Altitude Harness
- Mammut Wall Rider Helmet
- Petzl Quark Ice Axe
- Salewa Tec-X Ice Axe
- Lowe Alpine Mountain Attack 35-45 Back pack
- Olympus Snow Pickets
- Wild Country Wires/Nuts
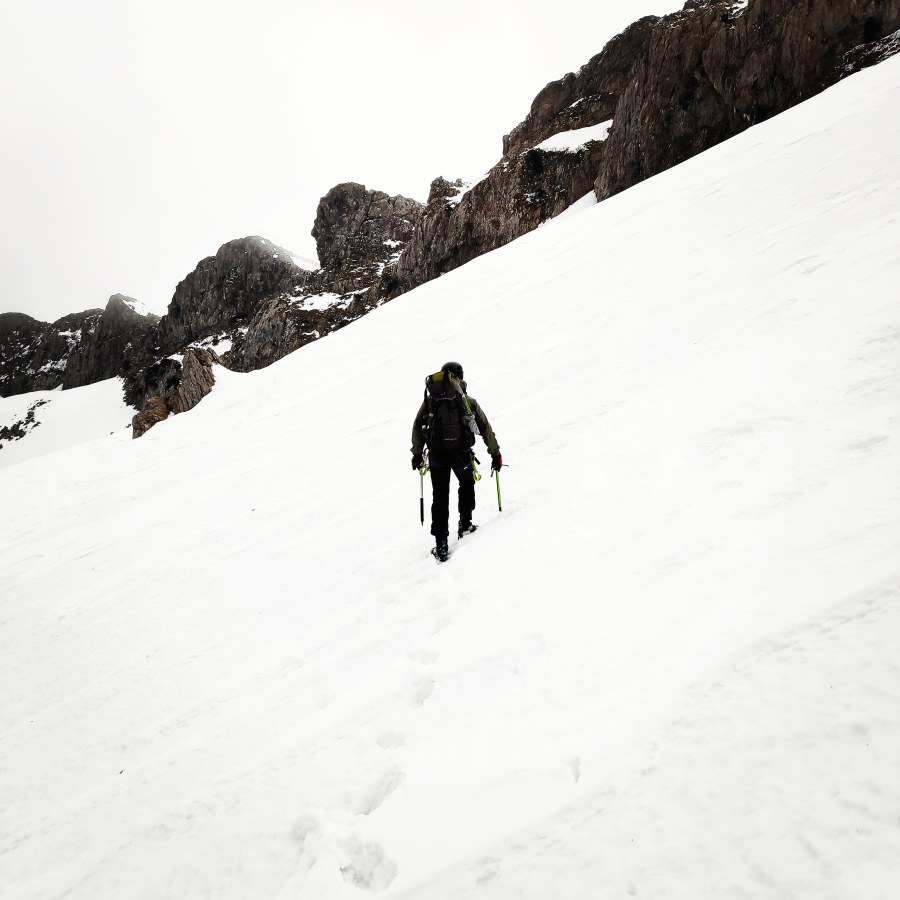
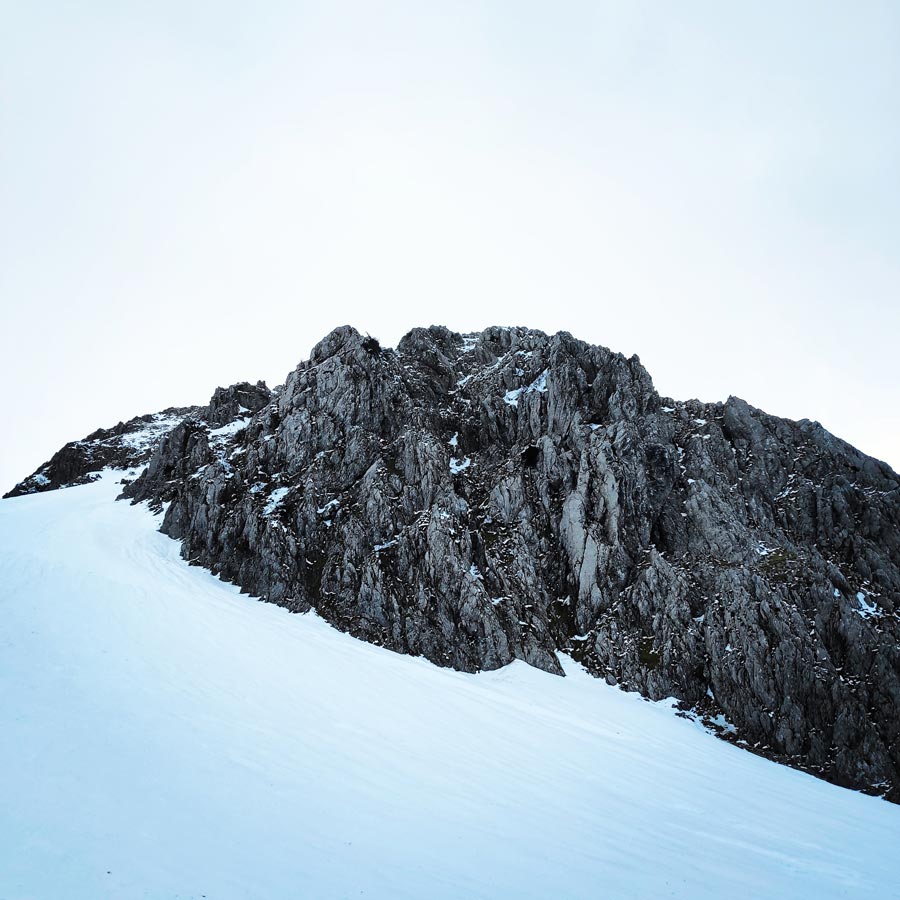
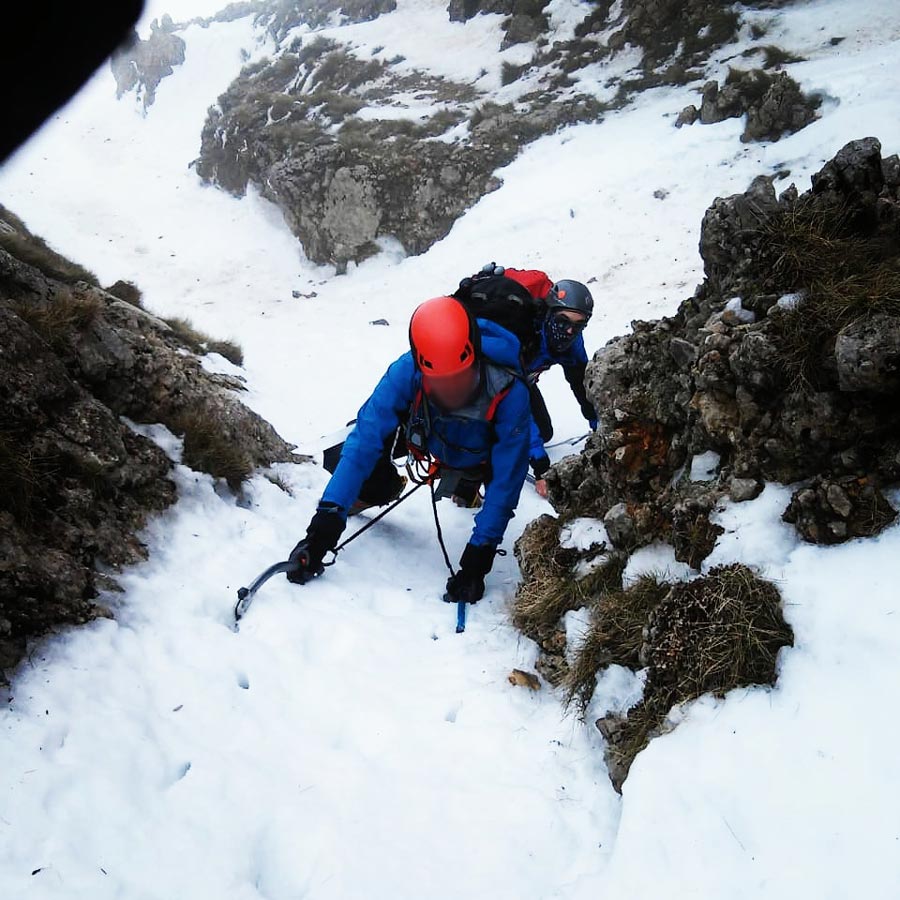
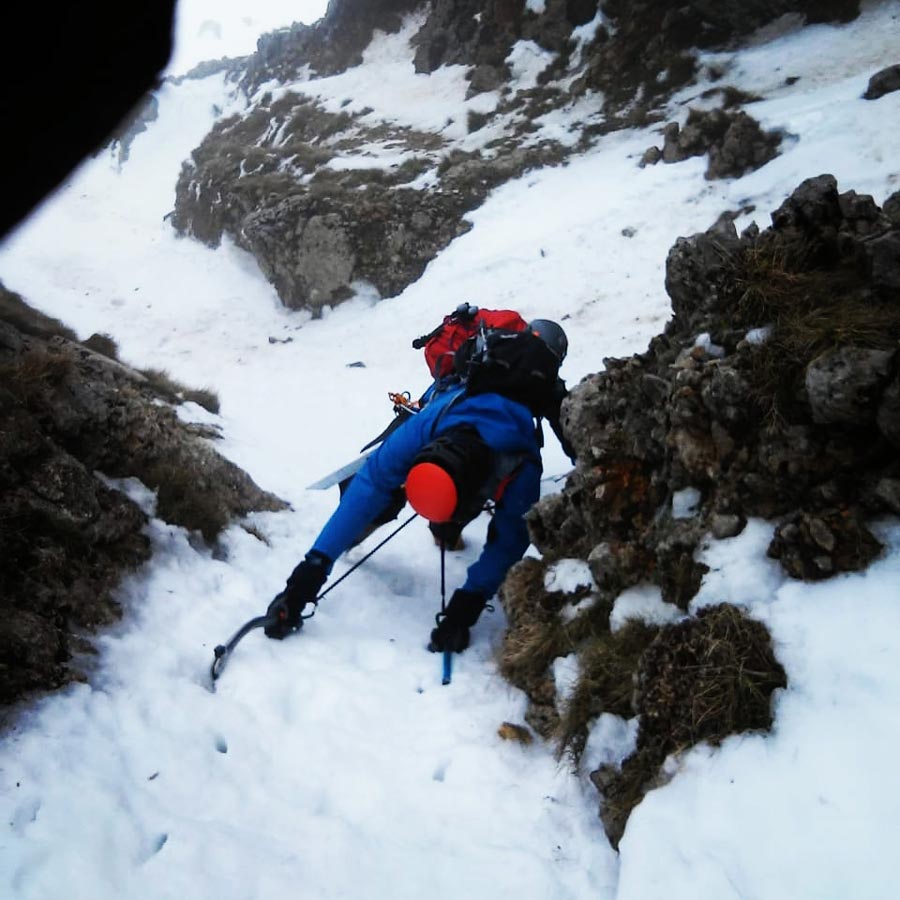
The actual climb was not difficult, and in fact we did not use any protection such as snow picket, wires or even rope. Although Xerovouni had plenty of snow, the couloir was not fully covered.
The central couloir is located north-east from the west ridge of Xerovouni and is about 100 meters long with a possible inclination of about +/- 45 degrees. There is not any real technical difficulty and for an experienced mountaineer, the only concern should be the possibility of an avalanche.

Explore all outdoor activities in a convenient list view here
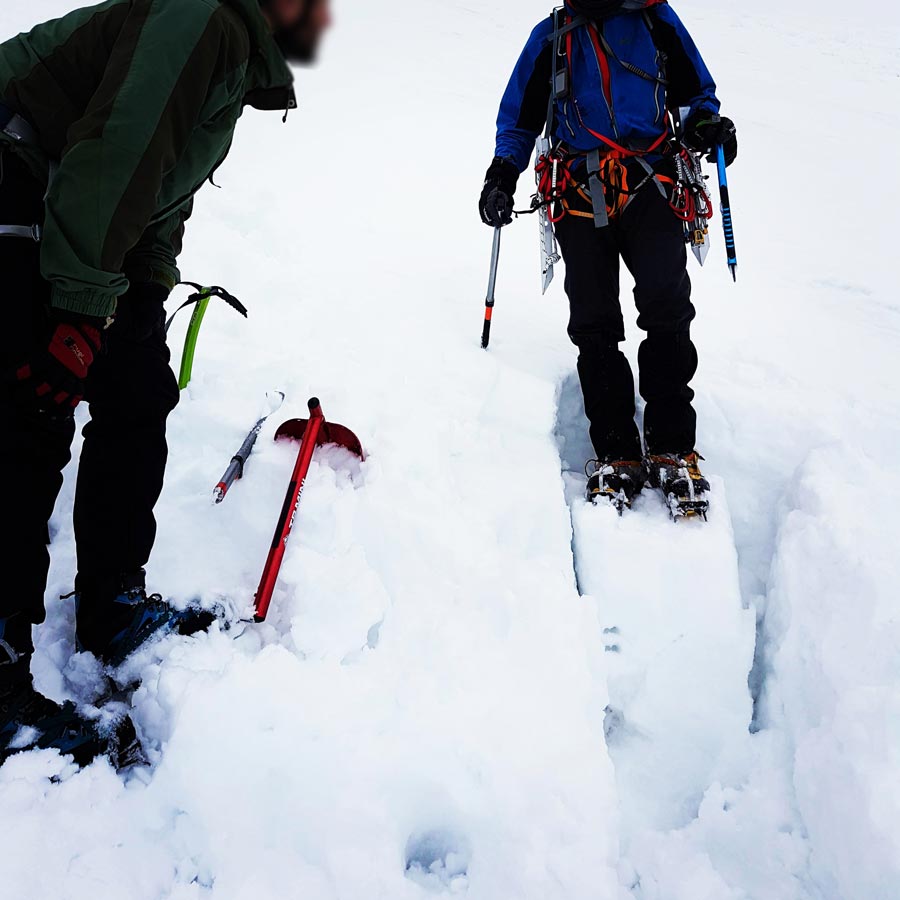
Avalanche Field Test – Snowpack Test
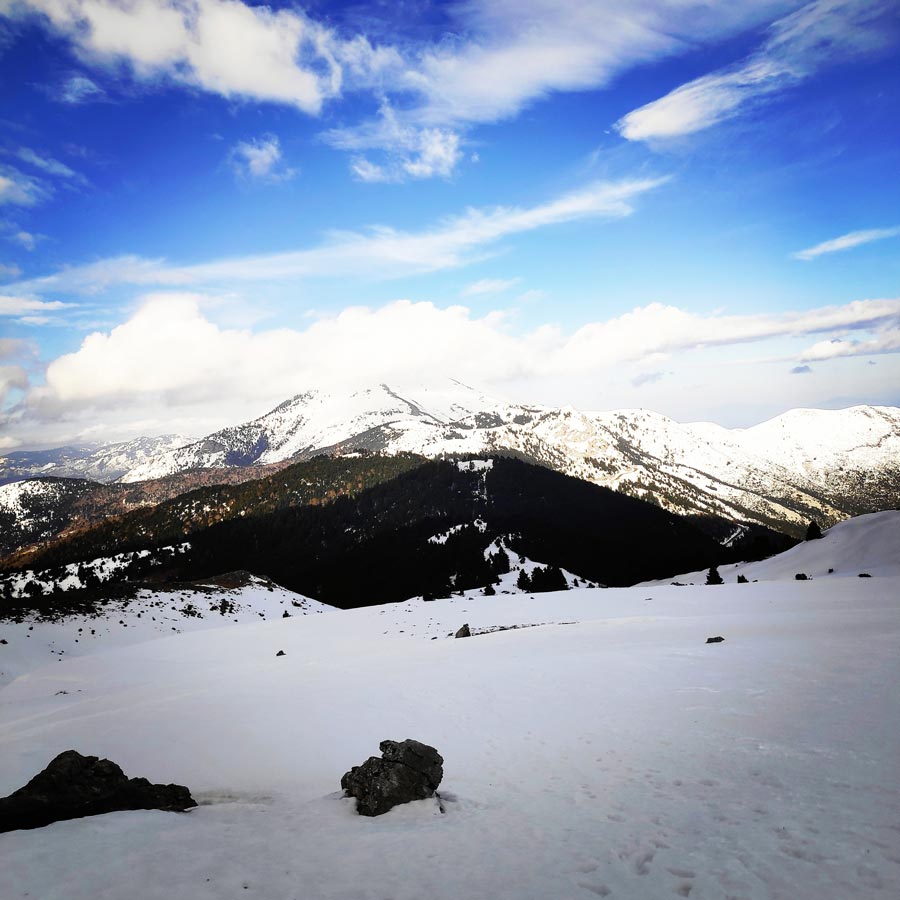
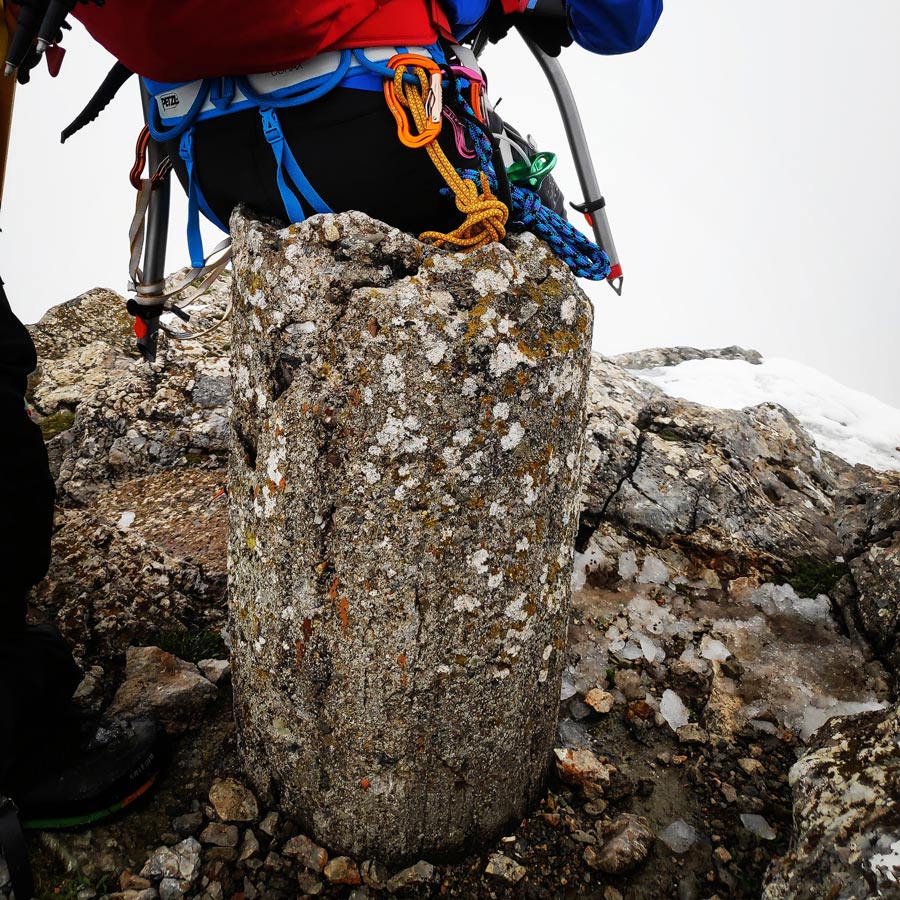
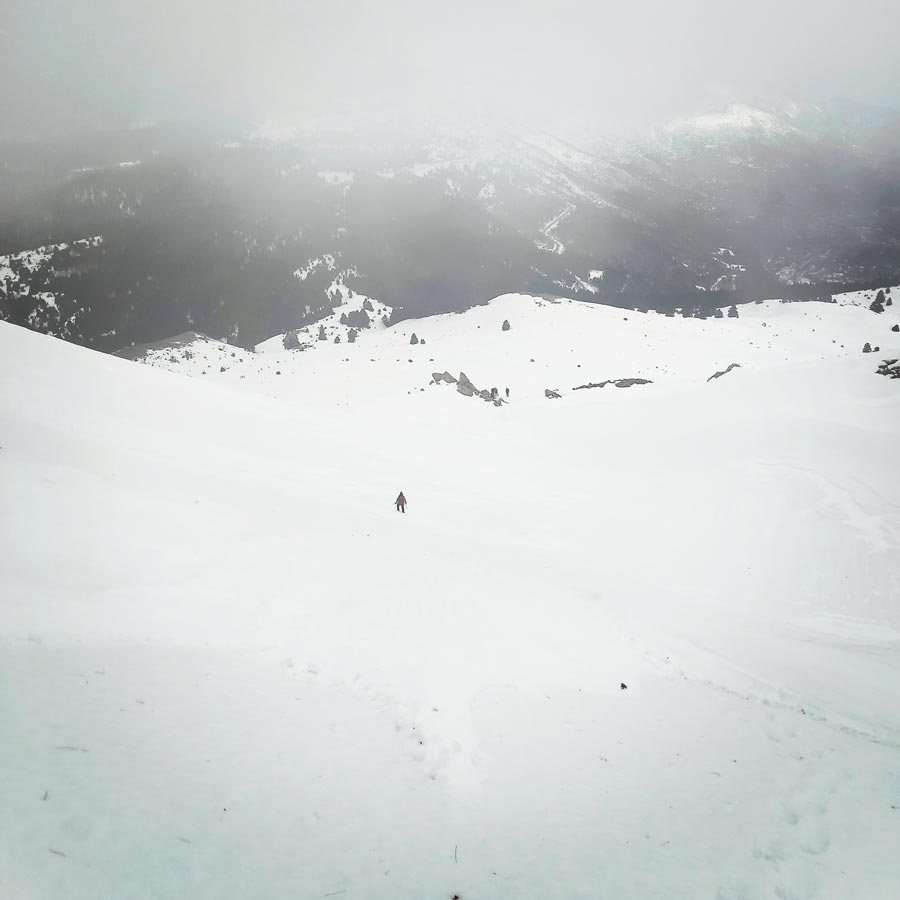
After a lovely climb via the central couloir, we have reached the 1.413 peak of Mount Xerovouni. Weather conditions, were not that good and we had nearly zero visibility. Therefore, we have decided to descent from the peak and due to the fact we had enough time we wanted to check the snow conditions with snowpack test.
Most of us pay little attention to avalanches unless someone gets injured or killed in one. The sad fact is that most people caught in an avalanche trigger the slide themselves by traveling on or beneath unstable snow slopes.
An avalanche can go as fast as 120 miles per hour, a force that can easily sweep you into trees and rocks, pull you over cliffs and tangle you in your ski or snowboard equipment. Nearly one–third of avalanche deaths are the result of trauma.
There are mainly two types of avalanches:
Loose–snow Avalanches
- Loose–snow avalanches occur where there is little or no cohesion in the snowpack. They usually start at a point on or near the surface and gather more snow and momentum as they progress down the slope, often forming a triangular–shaped path. Snow clumps falling onto the slope from a cliff above can set off these slides, as can melting within the snowpack.
Slab Avalanches
- Even more dangerous are slab avalanches, in which a layer of snow breaks away from the layer beneath it and slides downhill. Most backcountry travellers are caught in these avalanches. Slab avalanches are the result of many snowstorms or strong winds depositing layers of snow that change over time. Some layers settle and become stronger, while others grow weaker. Weak layers are frequently grainy or fluffy so that other layers can’t bond to them.
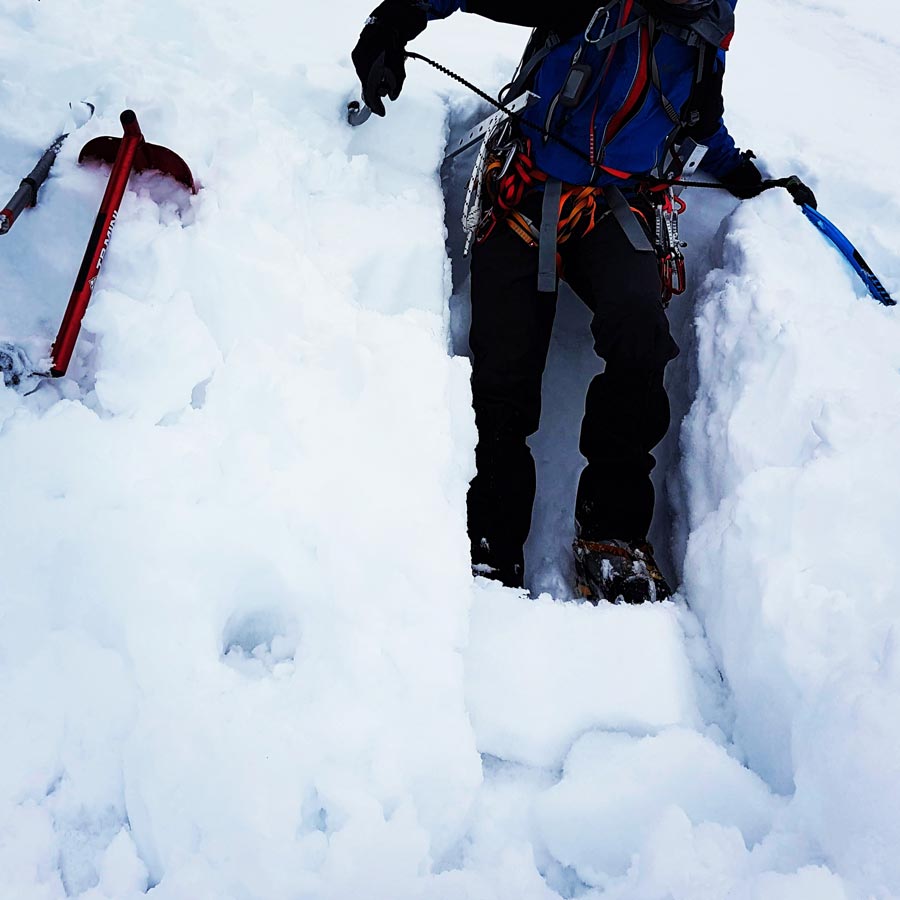
Snowpack
Snowstorms pile up one after the other all winter long. Wind blows snow off of some slopes and on to others. Temperature changes cause snow crystals to metamorphose. If the snow’s consistency remains constant, the snowpack is homogenous and stable. It’s when the snowpack develops different layers of different snow types that it becomes unstable and hazardous. It is extremely important for the backcountry traveler (especially on slopes between 30 and 45 degrees) to take the time to analyze the layers of the snowpack and test their stability.
Xerovouni – Parking Lot
Although, according to my personal opinion, Xerovouni is not the most exciting mountain to visit, it was worth it to pay a visit and climb via the central couloir. Having reached the top and having done the snowpack test, it was time to hike back towards the parking lot. Actually, on the way back the weather turned to be windy and rainy, but due to the fact we had a very enjoyable day, we did not mind at all.

Check out more FREE Guidebooks
Download now for free! Explore breathtaking landscapes and conquer thrilling heights with our collection of guidebooks and topos.
Don’t miss out on this opportunity to elevate your outdoor adventures. Click, download, and let the exploration begin!
Details of the Hike:
- Location: Mount Xerovouni
- Starting Point: Xerovouni – Dirfi Col
- Ending Point: Xerovouni 1.413 peak
- Trail Signs: Well signed path
- Minimum Elevation: 970 m
- Maximum Elevation: 1.413 m.
- Total Distance: 9.1 km
- Difficulty: Medium
- When to Hike: All year
- Water Features: None (During winter time)
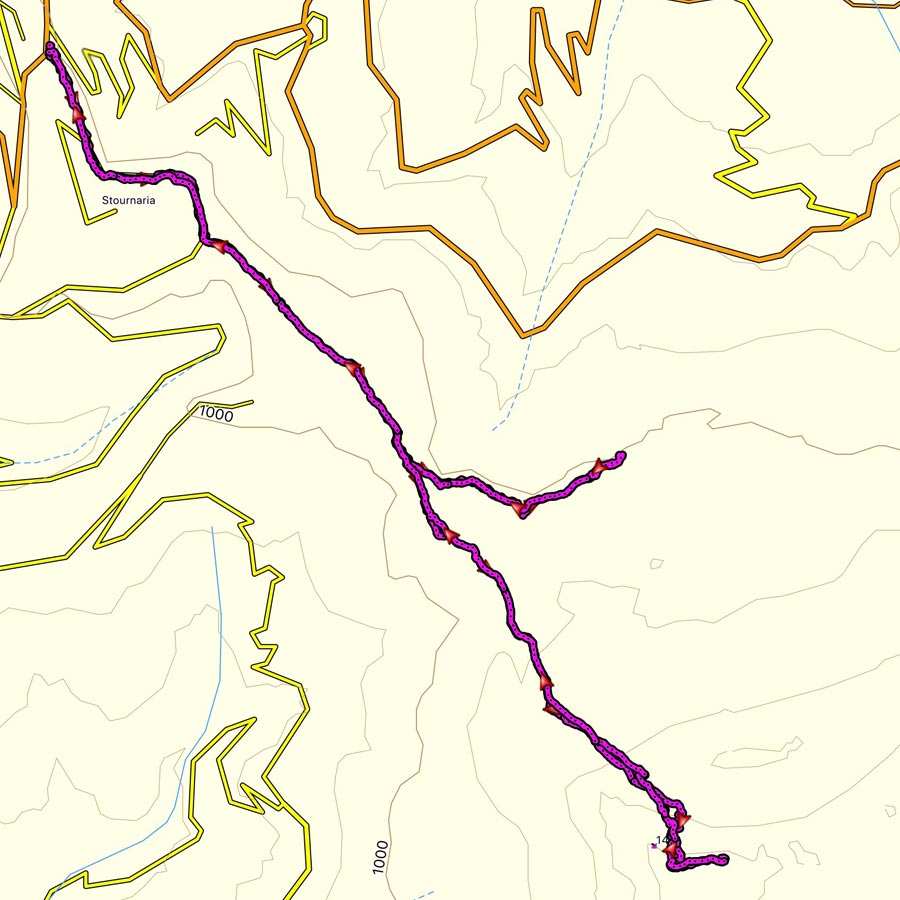
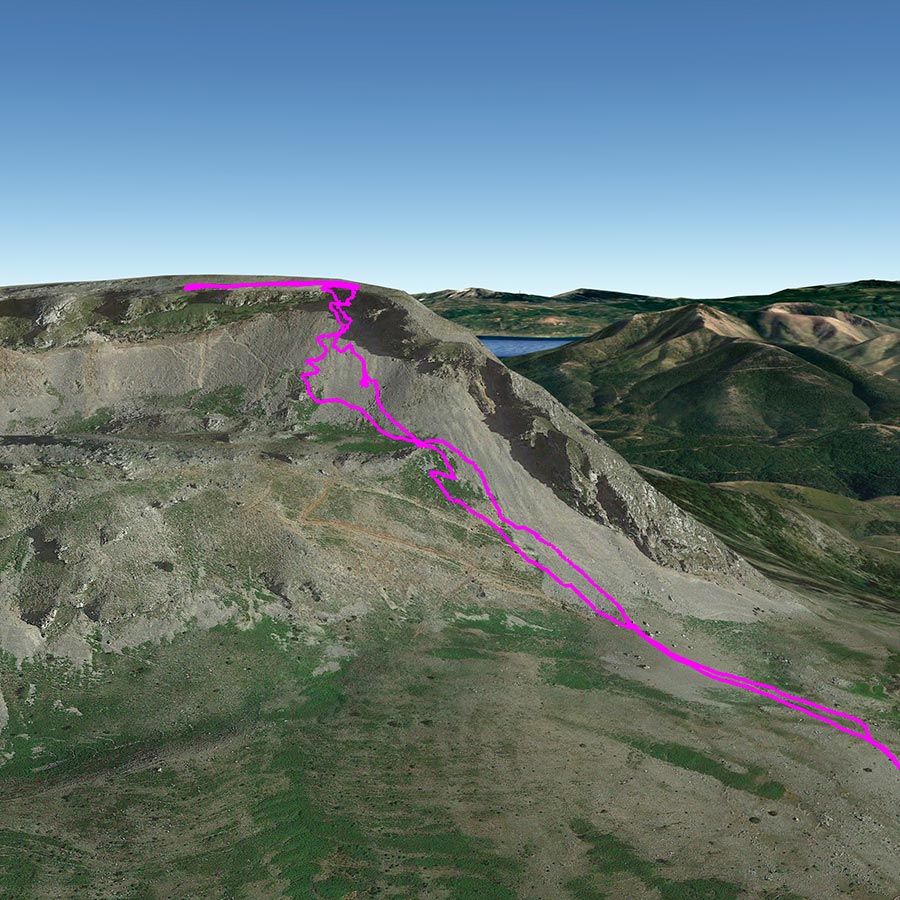
Bellow you can see the route we have followed on a map:
Subscribe & Stay Informed
Enter your email address to follow this blog and receive notifications of new posts by email
See previous mountaineering ascents in the area of Dirfi – Xerovouni:
Before you leave this blog check out the following map
Below: This map marks all the mountaineering adventures that have been featured on Olympus Mountaineering so far, including several Sport climbing crags – Select full screen to expand, zoom in for more detail, or click on a marker for a link to the post.

This is pretty cool. What temperatures did you experience?
LikeLike
Actually it was not that cold. It was between -3C up 0C (more or less)
LikeLike
okay thanks
LikeLike
Pingback: Winter Hike and Climb on Dirfi Mountain – Olympus Mountaineering
Pingback: Alpine Climb on Parnassos Mountain – Gerontovrachos and Touborachi – Olympus Mountaineering
Pingback: Alpine Climb in Gerontovrachos – Parnassos – Olympus Mountaineering
Pingback: Eternity and a Day VII- 250 m. 7 pitches | Alpine Climbing on Mount Xerovouni, Evia (Αιωνιότητα και μία μέρα) – Olympus Mountaineering
Pingback: Eternity and a Day VII- 250 m. 7 pitches | Alpine Climbing on Mount Xerovouni, Evia – Olympus Mountaineering